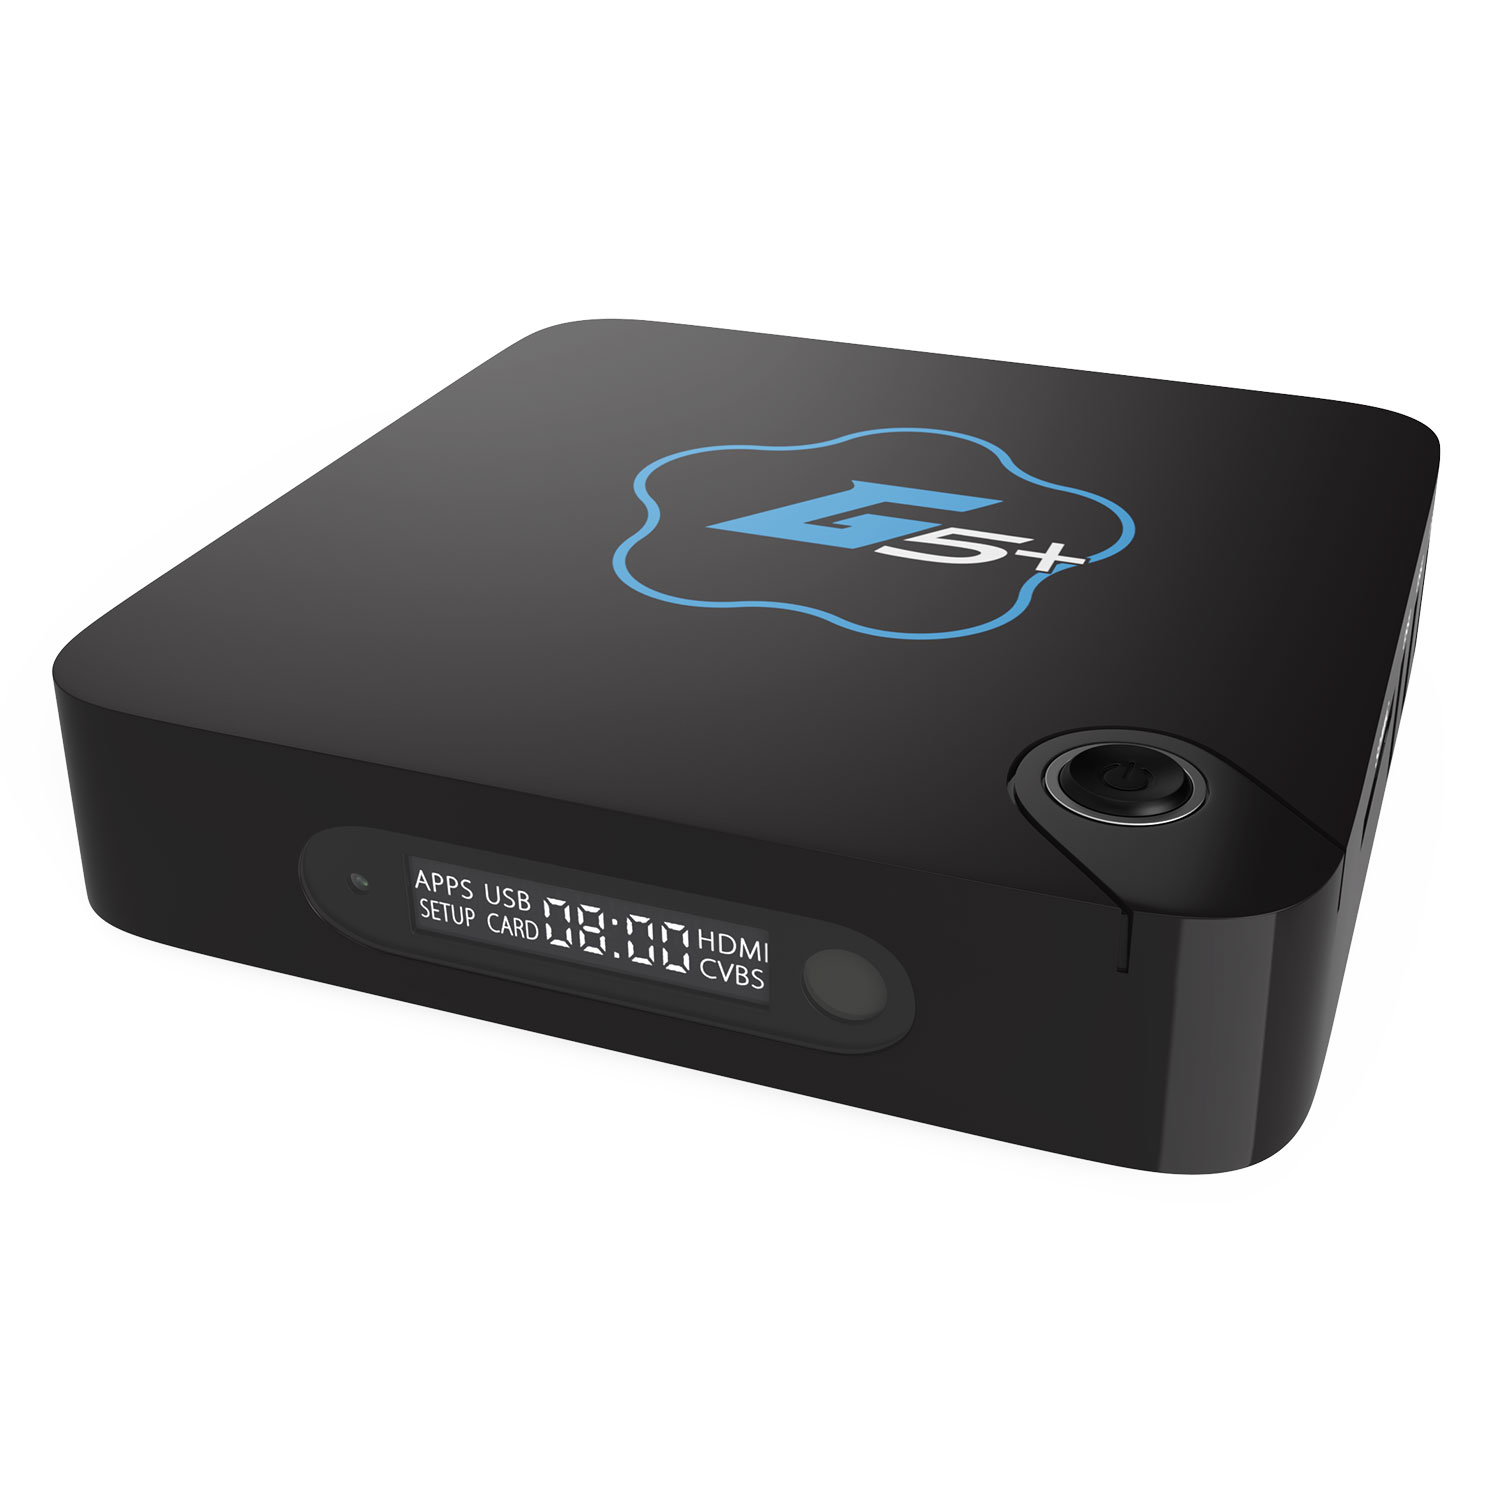
Installing firmware for the Droidplayer Dual Core
Please note. Kodi will not appear on the home screen as XBMC used to. The manufacturers of the chipsets for these devices have not created a new ROM since Kodi was launched and therefore, we are unable to change the shortcut to point to Kodi as it is hard coded into the ROM firmware. Kodi can be found in ALL APPS.
A video showing the steps you need to take for this re-install can be viewed here
Step 1. Download the DroidPlayer firmware from the following link:
Step 2. Get an SD memory card that is at least 1GB in size Unzip or extract the downloaded firmware ZIP file to a location on your PC. Once unzipped, you will see you have 3 files. Copy these to your SD memory card.
NOTE: This step of unzipping/extracting the zip file is very important! On a PC, once you have downloaded the file, you should be able to right click on the zip file and choose ‘Extract all’ then choose a location where you want to ‘Extract/unzip’ the files to.
Step 3. You should now have 3 files on your SD card called factory_update_param.aml, dp.zip and recovery.img. (You do not need to unzip the dp.zip now on your card, just leave it as it is)
NOTE: Please ensure that the 3 files are in the root of your SD card, and not stored within a folder on your SD card.
Step 4. Slot your SD card into the box and get yourself a matchstick, wooden toothpick, thin jewelers screwdriver or a paper-clip. You’ll need this to reset the box.
Step 5. At the back of the box you will see a hole labelled ‘AV’. Inside this hole, at the end, is the reset button (told you you’ll need that toothpick!) Insert your chosen device into the hole and you will feel a clicking button at the end. You will need to press and hold this button in a minute.
Step 6. Ensure you have the HDMI cable plugged in now and the power cable in easy reach with one hand whilst you use your other hand to press the rest button with your reset tool.
Step 7. Push and hold the reset button using your chosen tool then plug in the power cable, keeping the reset button pressed in during this process!
Step 8. With the reset button still pressed using your tool, the screen should flash up an opening logo. Keep the reset button pressed until you see the following image of the Android figure stood up:
Step 8. When you see the Android figure like this, you can remove your reset tool from the AV hole (and put it somewhere safe for next time). The progress bar below the Android figure will move to the right for a bit and then after about two or three minutes you will see a menu screen. Simply choose to ‘reboot now’.
Step 9. Once rebooted you will see the DroidPlayer splash screen. After about a 40 second wait you will see the welcome screen
Step 10. After this you will load into the main Android homescreen. Press SETUP on your remote or scroll along and choose SETTINGS from the main menu.
Step 11 From here tick the Wifi box (or tick ethernet and exit settings if you are cabled up) and then enter your network password and connect now. Once connected come out of settings and select XBMC from the main Android menu
Step 12 This will present you with our new installer screen. Choose to Install DP and then follow the prompts to download and install the latest config. DO NOT TURN OFF YOUR BOX OR EXIT THE PROGRAM WHILST INSTALLING
Once installation has finished it will return you back to the Android home screen. You now have our latest config.


[…] **THERE IS A NEWER FIRMWARE INSTALL PROCEDURE AVAILABLE TO VIEW HERE** […]
Struggling with the out of date information on this site.
I have posted a comment in the forum, but have had no reply as to installing Kodi which is contained in the latest (2016) base release for MXQ.
https://www.gostreamer.com/forum/topic/re-install-firmware-for-all-droidplayer-boxes/
NB I got here by following link in FAQ
“How do I update/re-install to the latest firmware for my Android TV Box?”
which has another link (to here)
** THERE IS A NEWER FIRMWARE INSTALL PROCEDURE…”
and as mentioned, and detailed in the forum, the details above are out of date (install ‘KODI’, not DP. System Orientation. BASIC or PRELOADED). The video, although useful for seeing the reset/reboot procedure, is completely out of date (showing XBMC).