Kodi allows the use of subtitles to enhance the viewing experience of films and TV shows.
This requires installing one of many free Subtitle add-ons. There are loads of subtitle providers to choose from, for this demo we will choose opensubtitles.org. Here’s How:
Here’s How:
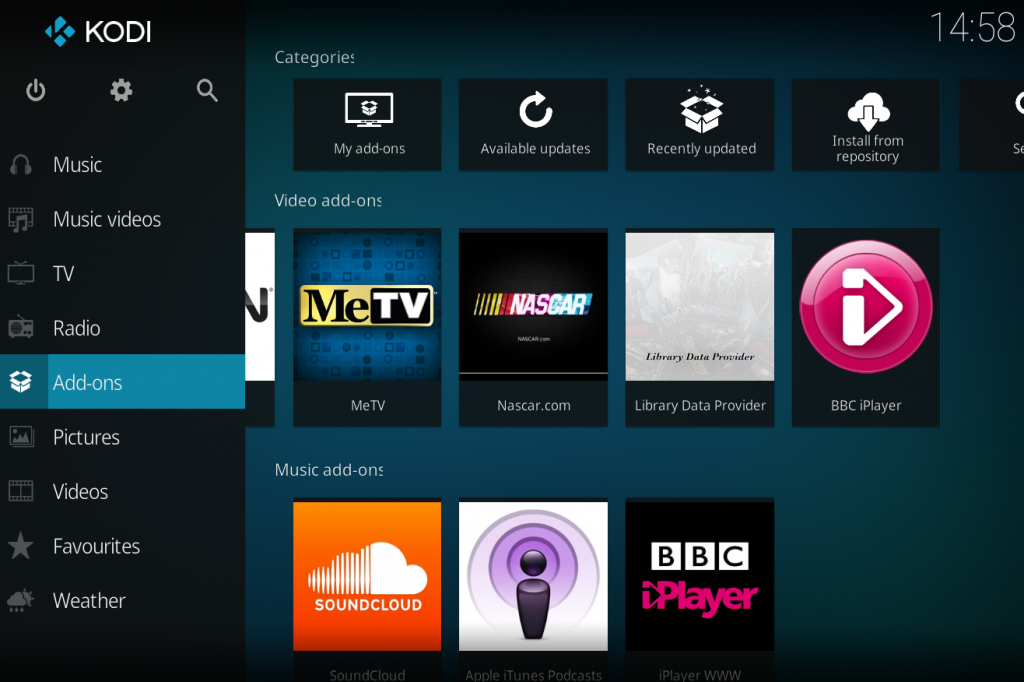
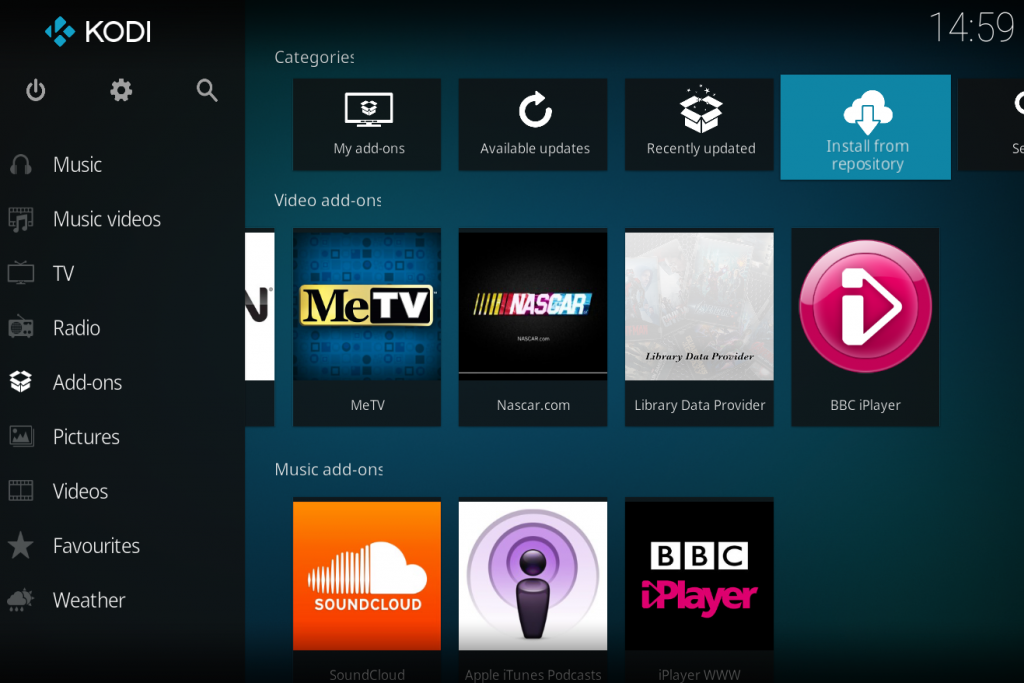
Step 1. Click the Add-ons tab on the Home Screen and then choose INSTALL FROM REPOSITORY at the top right of the screen.
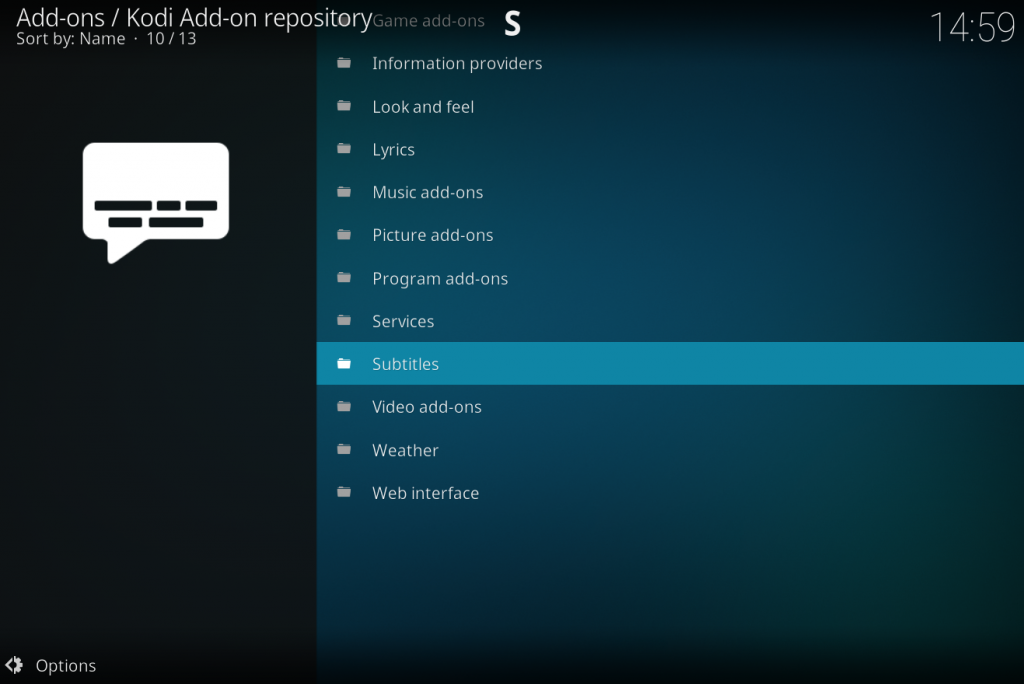
Step 2. Choose the Kodi add-on repostitory and then choose SUBTITLES
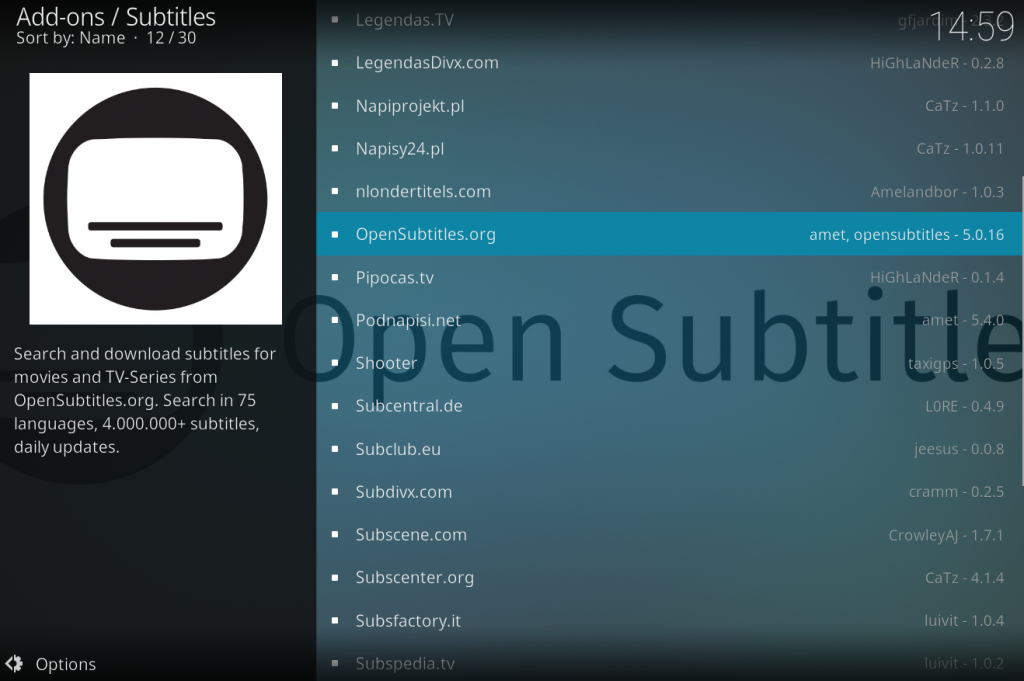
Step 3. Select the subtitle provider from the list, and choose to INSTALL. For this example we chose opensubtitles.org
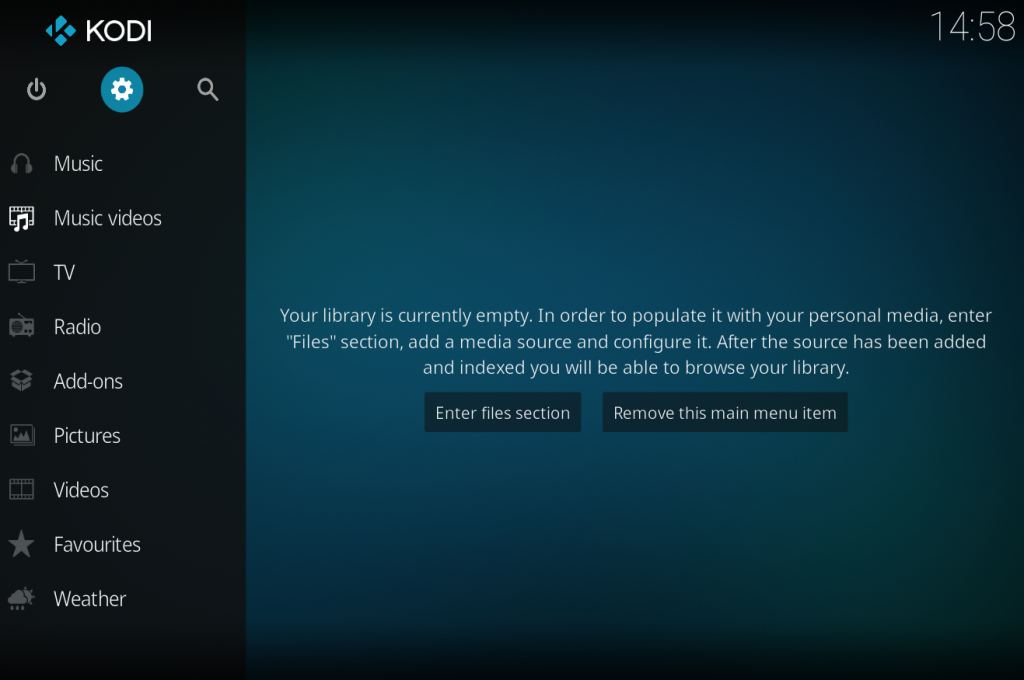
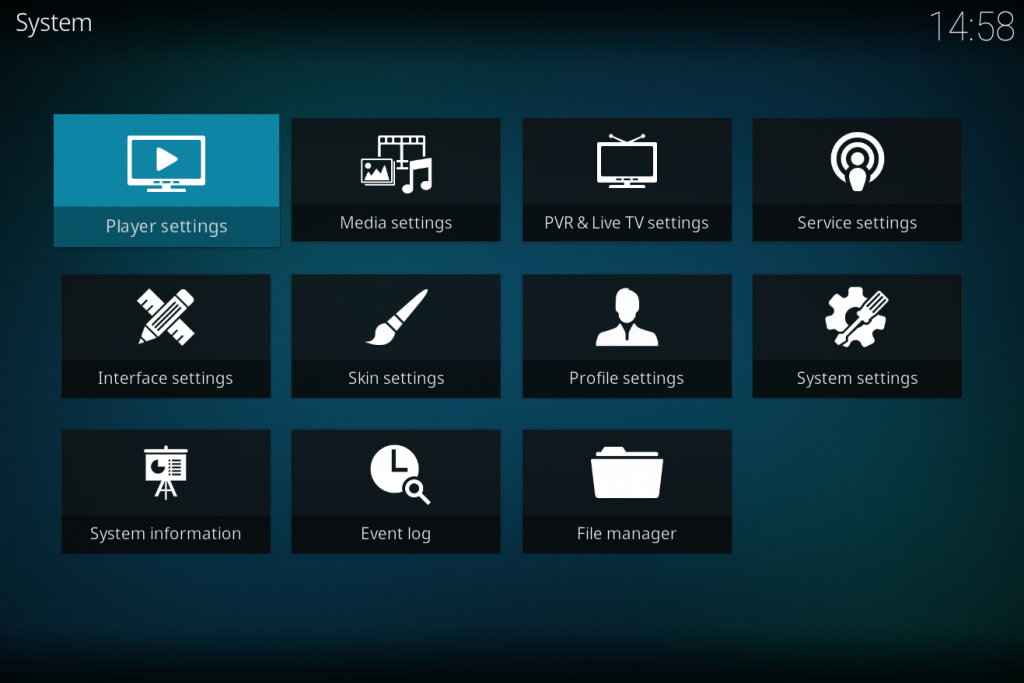
Step 4. Next, return to the Kodi homescreen and choose the SETTINGS cog icon at the top of the menu. Then choose PLAYER SETTINGS
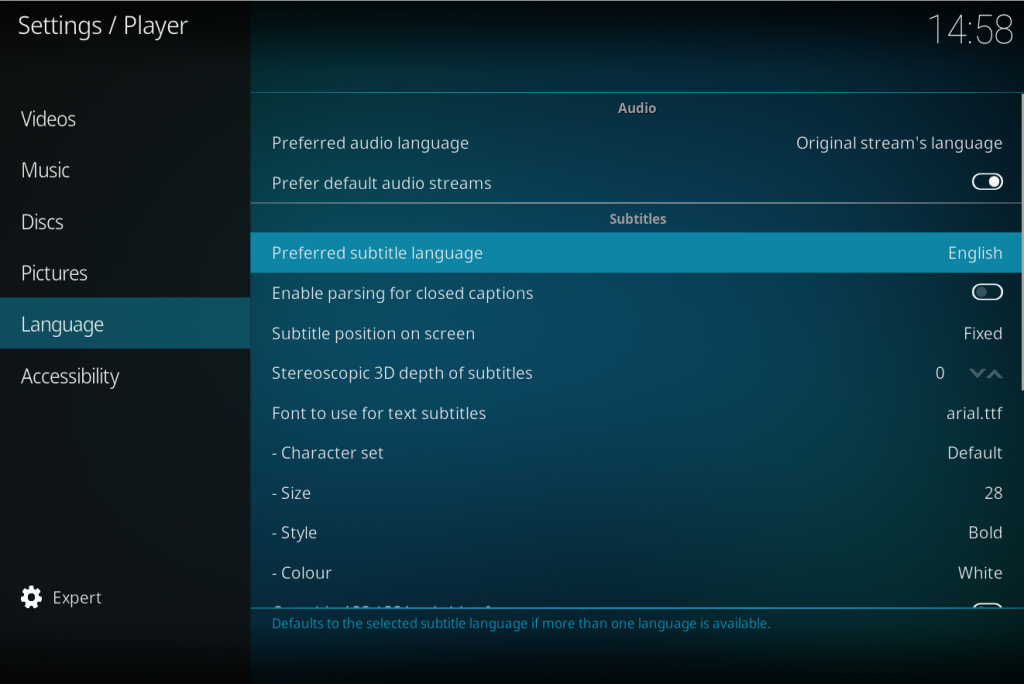
Step 5. From here, scroll down to LANGUAGE and on the right, select PREFERRED SUBTITLE LANGUAGE under the Subtitles heading, choose ENGLISH (or whatever language you prefer) from the list of options.
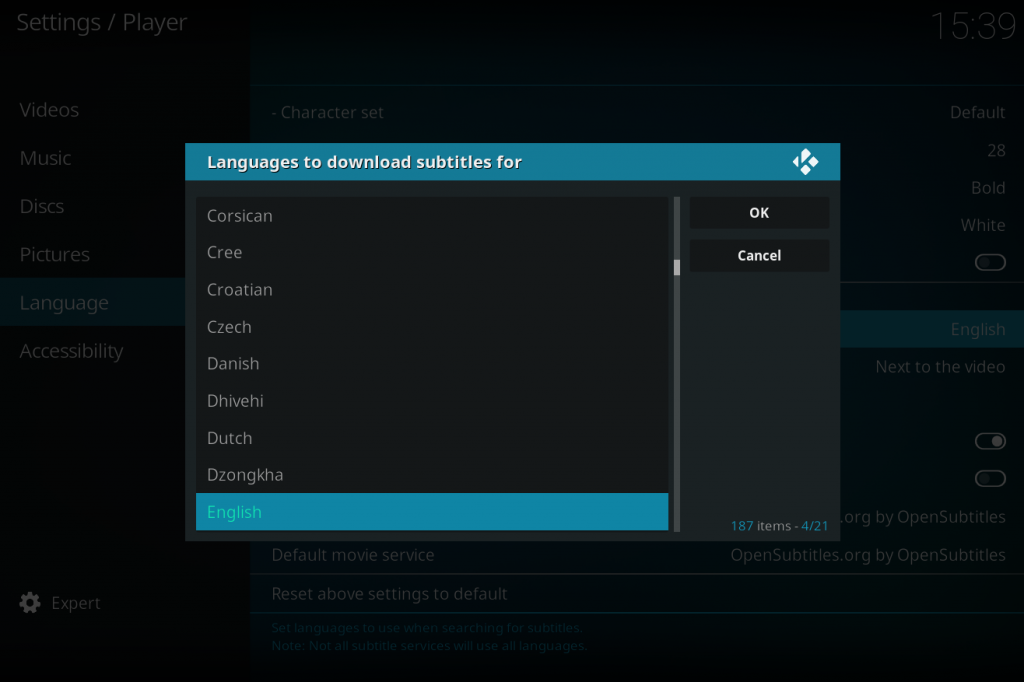
Step 6. Repeat for LANGUAGES TO DOWNLOAD SUBTITLES FOR under the DOWNLOAD SERVICES heading so that both options under the headings show ENGLISH (or your prefered language)
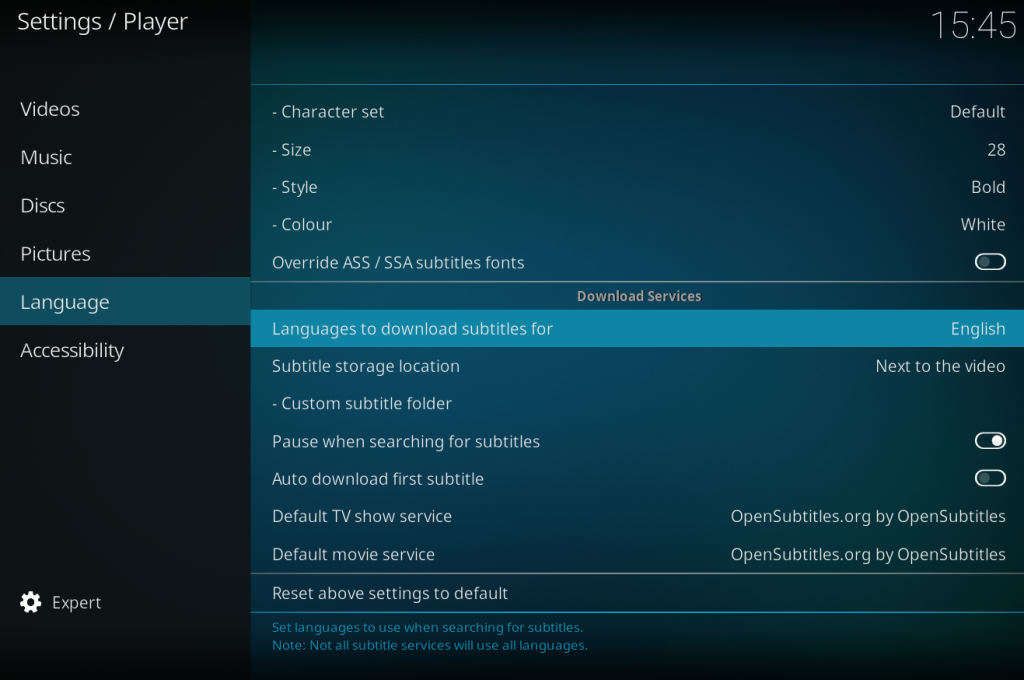
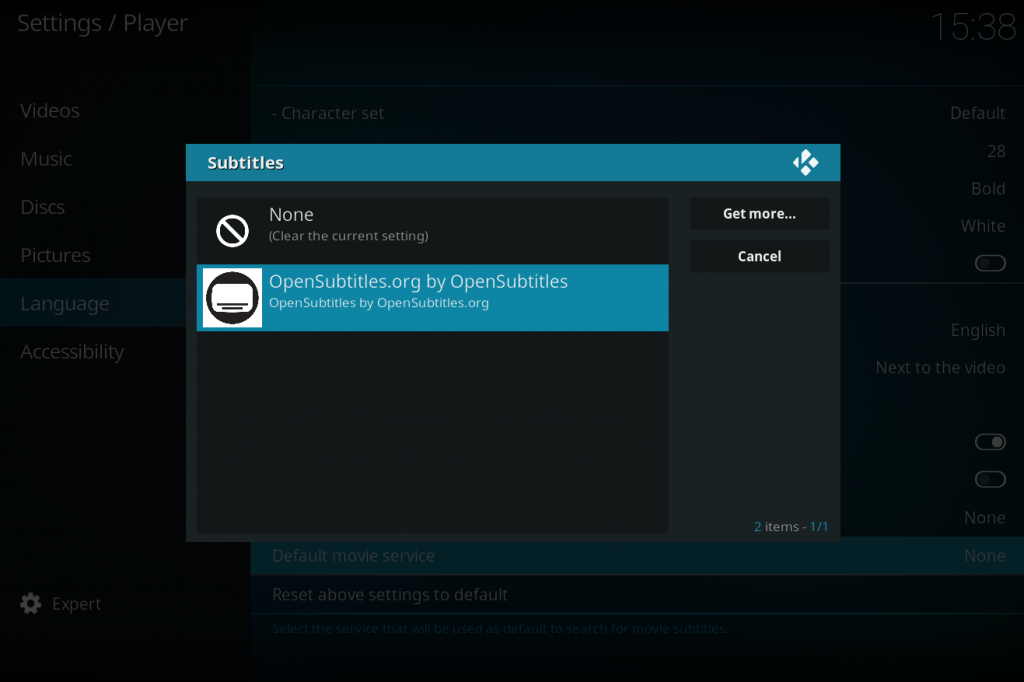
Step 7. Next, change the DEFAULT TV SERVICE and DEFAULT MOVIE SERVICE to the subtitle addon you installed earlier.
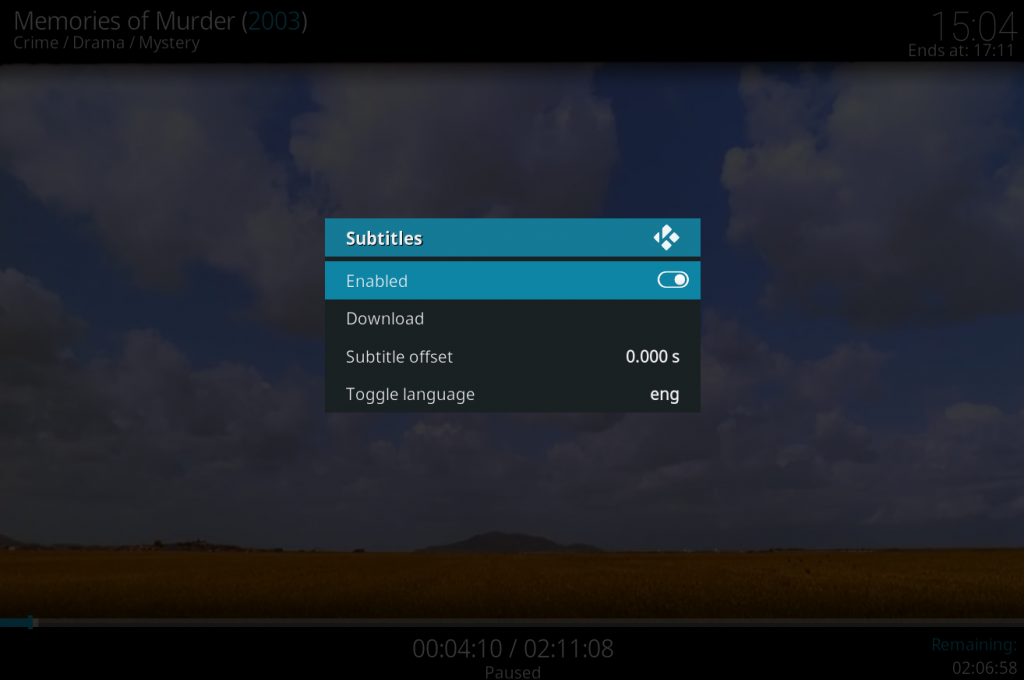
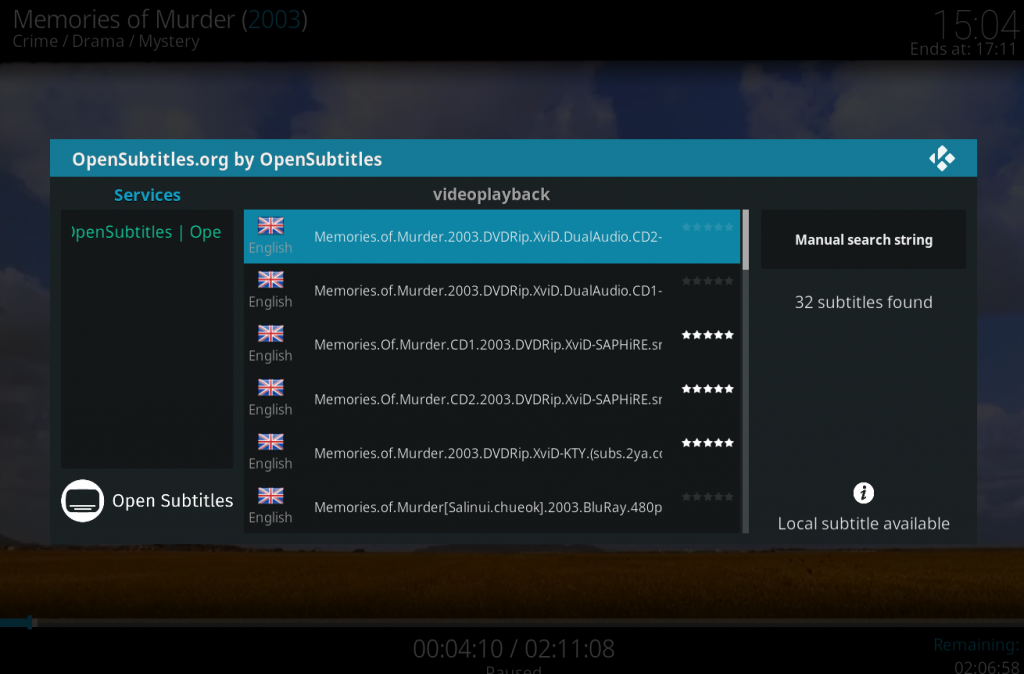
Step 8. Now, whilst watching a film, choose the subtitle icon in the bottom right corner and download the subtitles for the film you are watching
You are now all set